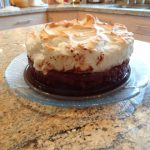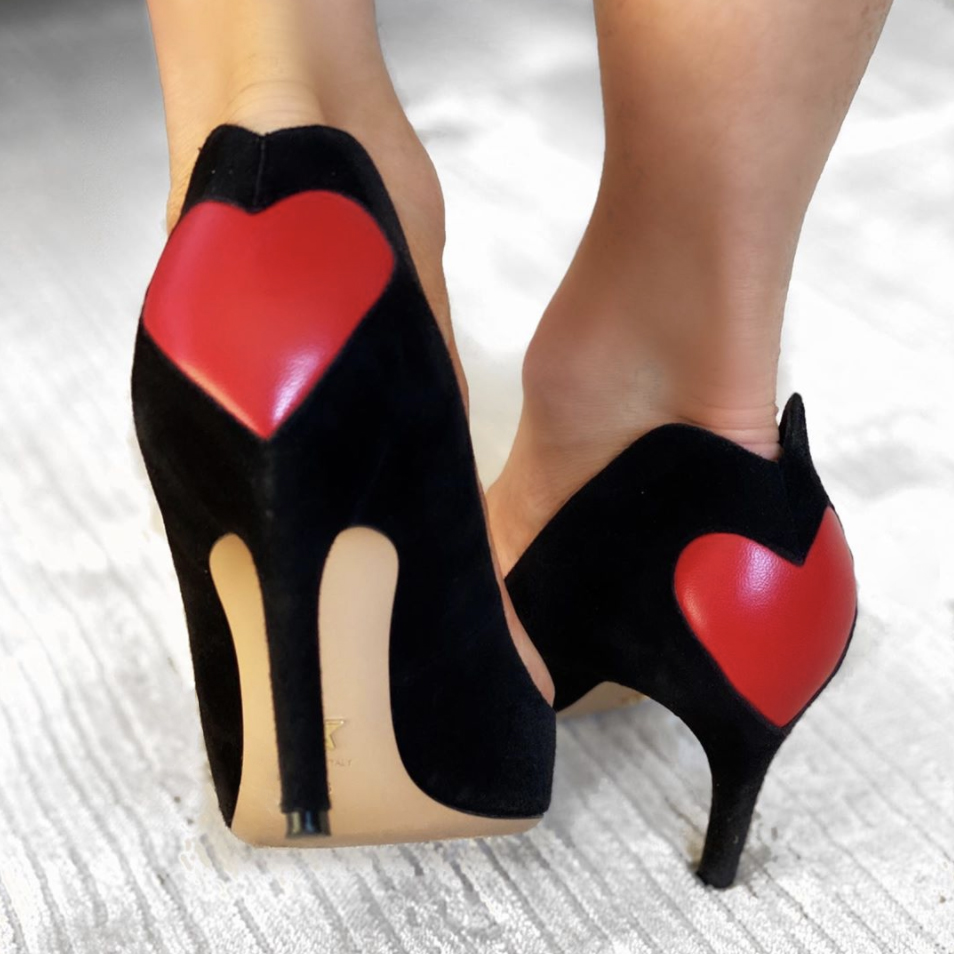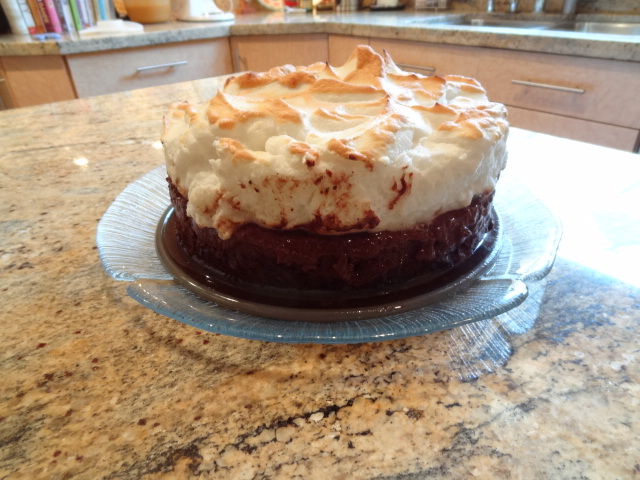
I acquired many of the best traits from my mother, Irene. My voice, my love of the arts, fashion, and cooking, all originate from her. My mother’s culinary skills are superb, and according to my taste buds, truly unmatched by others. She has taught me everything I know about cooking and baking, and to watch her in action is to watch a masterwork of her art. My mother also has the God-given talent to create recipes from scratch. This has been a blessing to all who are fortunate to eat or taste one of her delectable delights. This recipe, for Chocolate Mousse Torte, which can be used during Passover, is a crowd-pleaser at any time of the year. Although there is s bit of “ungapatchka,” (Yiddish, for “a lot of fuss”), involved in its preparation, as it requires many steps, it is relatively easy. When you enter the dining room carrying the “grande finale,” it will appear as if you studied cooking at Le Cordon Bleu! Of utmost importance is that when you present the torte, you must ensure that you have secured it to the plate with a rubber trivet or non-sliding surface such as a doily. I did NOT do this the first time I served it 21 years ago at our very first Seder in New York. As I write this, I am laughing about it. Jeff and I had been residing in New York for about a year and decided to invite 15 new acquaintances for our very first Seder there. All of those invited, coincidentally, hailed from the British Commonwealth, countries including Canada, Australia and South Africa. I was 6 months pregnant with Yale, and my natural klutz-like tendencies were extremely enhanced. It was time for dessert, and I couldn’t wait to bring out the mousse torte, which I had forgotten to secure to the glass cake pedestal onto which I had so proudly placed it. Unable to contain my excitement, I bolted out of the kitchen and headed straight for the dining room to show my new friends my culinary work of art. On the way there, the cake slipped off the pedestal, flew into the air, turned upside down, and landed with a “splat” onto the parquet wood floor, spraying my new friend, Ida’s, new suede shoes, with meringue. I was horrified and embarrassed, but Ida began to laugh, and then her husband, Ken, and then everyone else followed suit. I was laughing so hard, that I forgot that I was holding another cake,(also on a springform pan), and it, too, slid off of the pedestal and headed straight for the floor with another splat! By now, we were all hysterical, and Ida announced that we would certainly NOT dispose of these two cakes. She proceeded to take a large spoon, and scoop them up off the floor and into a beautiful glass bowl. I was stunned, but relieved; not only because my efforts would be enjoyed by everyone, but because I made such a wonderful friend!
Here is the recipe:
You can make this several day in advance.
Brownie Base
- Preheat the oven to 350 degrees
- Grease a 9 inch round springform pan
- Prepare a Brownie base (we use a Brownie mix straight from the box).
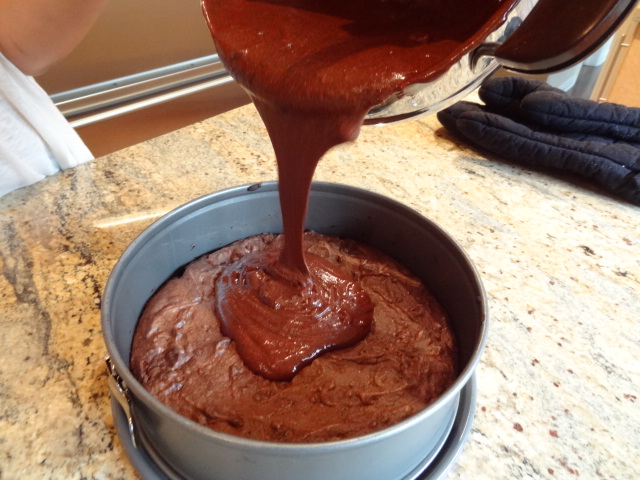
- Pour the batter onto the springform pan
- Bake as directed
- Remove from oven and let cool

Chocolate Mousse
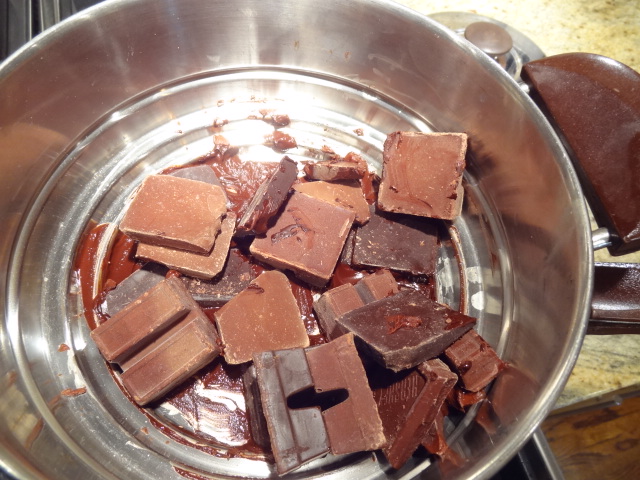
- 12 ounces bittersweet chocolate
- 2 tablespoons hot instant coffee
- 7 eggs, separated
- 3 tablespoons sugar
Instructions:
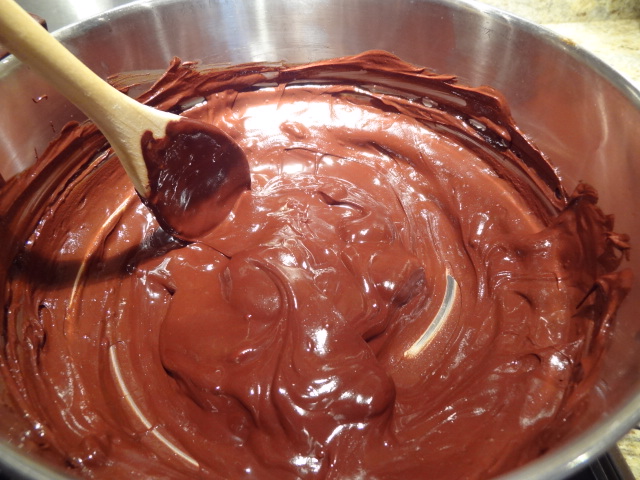
- In a double boiler, melt the chocolate.
- Once melted, add the hot coffee.
- Beat the 7 egg yolks and with a rubber spatula, stir into the chocolate mixture.
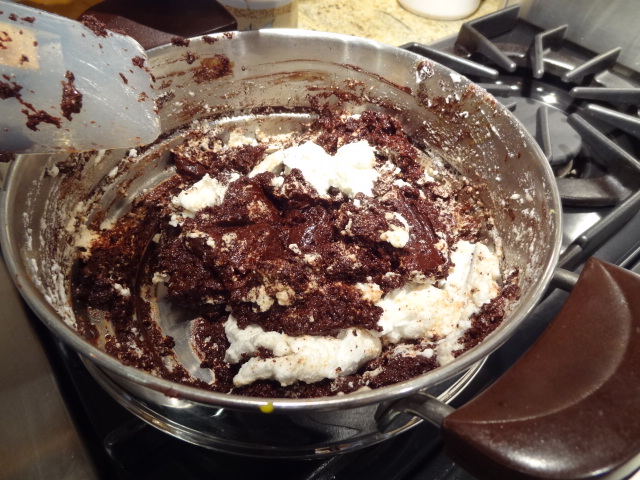
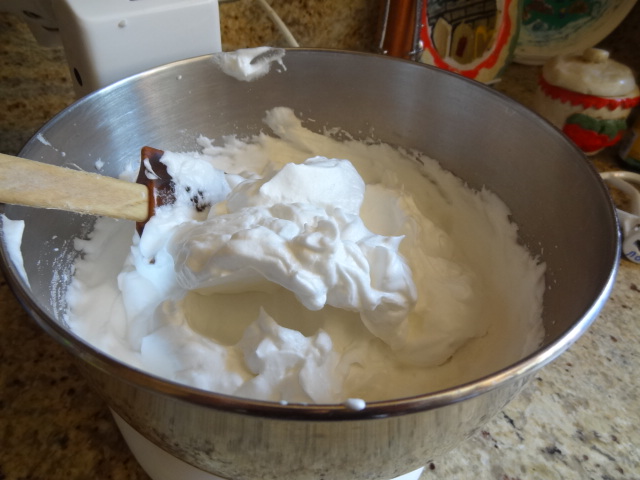
- With an electric mixer set on high, and using the wire whisk attachment, beat the 7 egg whites while slowly adding the 3 tablespoons of sugar. Continue beating until light and fluffy, almost stiff.
- Fold the egg whites into the chocolate mixture.
- Pour onto the brownie base and freeze.
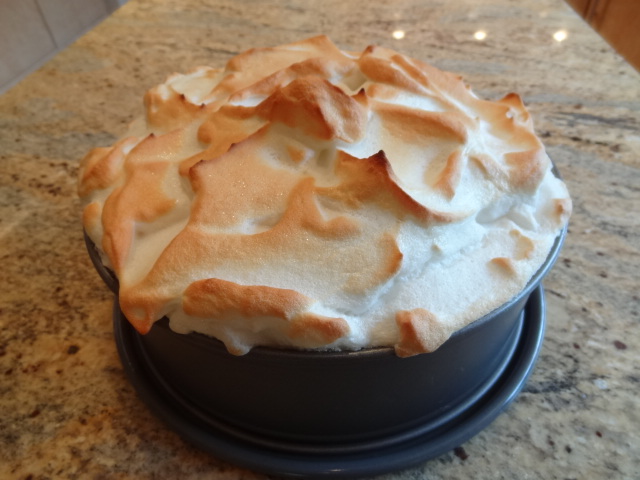
7. Once the mousse is frozen, prepare the meringue topping. Using the wire whisk attachment, beat 8 egg whites with 3 tablespoons of sugar until they form stiff peaks.

Spoon the meringue onto the chocolate mousse and bake at 450 degrees until the meringue becomes light brown in color. Remove from oven and re freeze. A half hour before serving, remove from freezer. Remove spring form sides and serve on a decorative plate lined with a rubber trivet or a paper doily, so that the bottom of the pan does not slide when you are slicing.
Enjoy!!!